|
Making of - The development of an artist doll
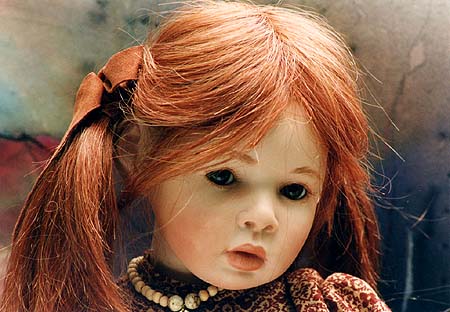
Surely some collectors may have asked themselves how an artist doll like this one has been made, and are interested in
the process of development...
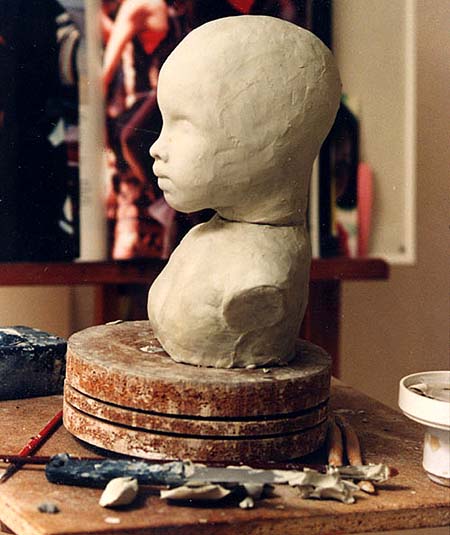
All starts with a chunk of clay, modelene or similar, well moldable material.
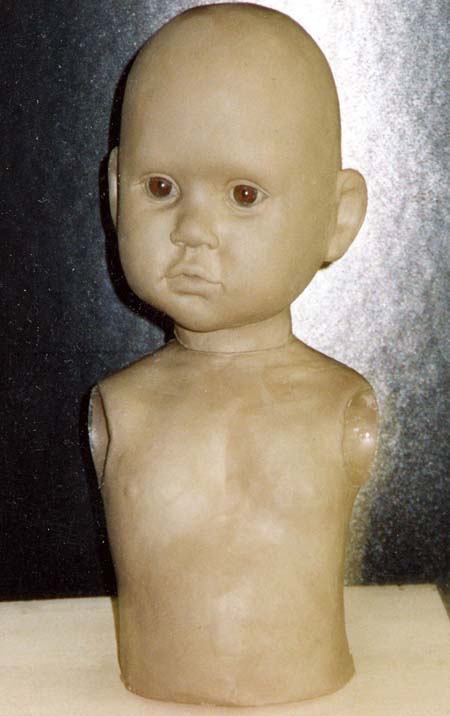
Out of this unformed basic material a doll head will be moldelized in hours over hours, as well as the breast-plate and all other parts,
and in the end a relative clear picture is available about the final look of the doll.
Top of the page
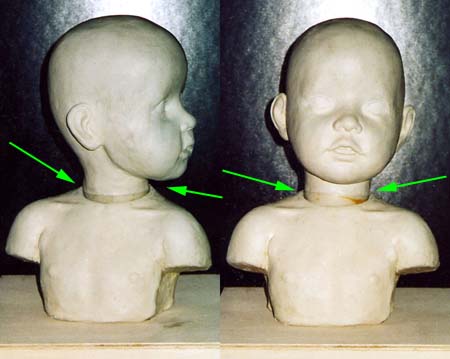
Now the moldmaking starts - a complicated task, because at the ears, nose and other difficult parts of a well-modelled doll
it might happen that the hard mold "grabs behind those parts" and could be destroyed on opening. To avoid this it is to be
planned very carefully where the divider lines have to be placed. This is good to be seen on the following picture
(look at the green arrows 2 for the ear line):
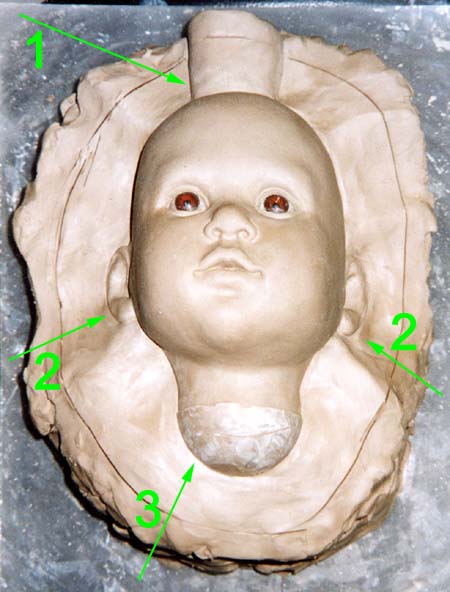
The green arrow 1 marks the modelled "pouring funnel" which will be cut off later; the opening is needed
to place the eyes and the head fixing armature into the head. It will be closed afterwards with a card board paper cap and hidden under the wig.
The green arrow 3 shows an added sphere which form makes it possible to keep the head turnable
while beeing fixed at the breast plate: The pendant to the sphere, a channelled sphere, is molded to the breast plate.
How this is functioning is shown with the following pictures:
All doll parts will be used to build forms made from gypsum, which one will later be filled with
the liquid porcelain mass.
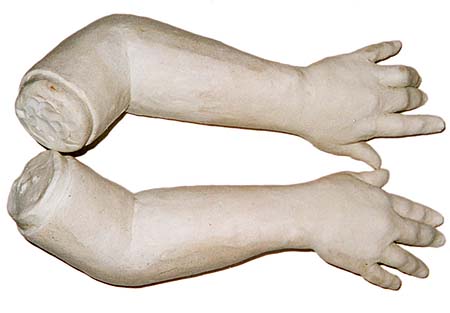
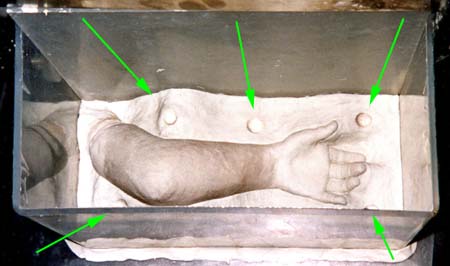
The next pictures f.e. show arm models and how they are bedded into the form.
To avoid mold parts to slip into unwanted directions and to make sure everything suits well here also little spheres are embedded
(watch the green arrows -
this makes a similar sense like the little edge helper crosses at colour prints which are cut off when the prints are finished):
Top of the page
Next page
|